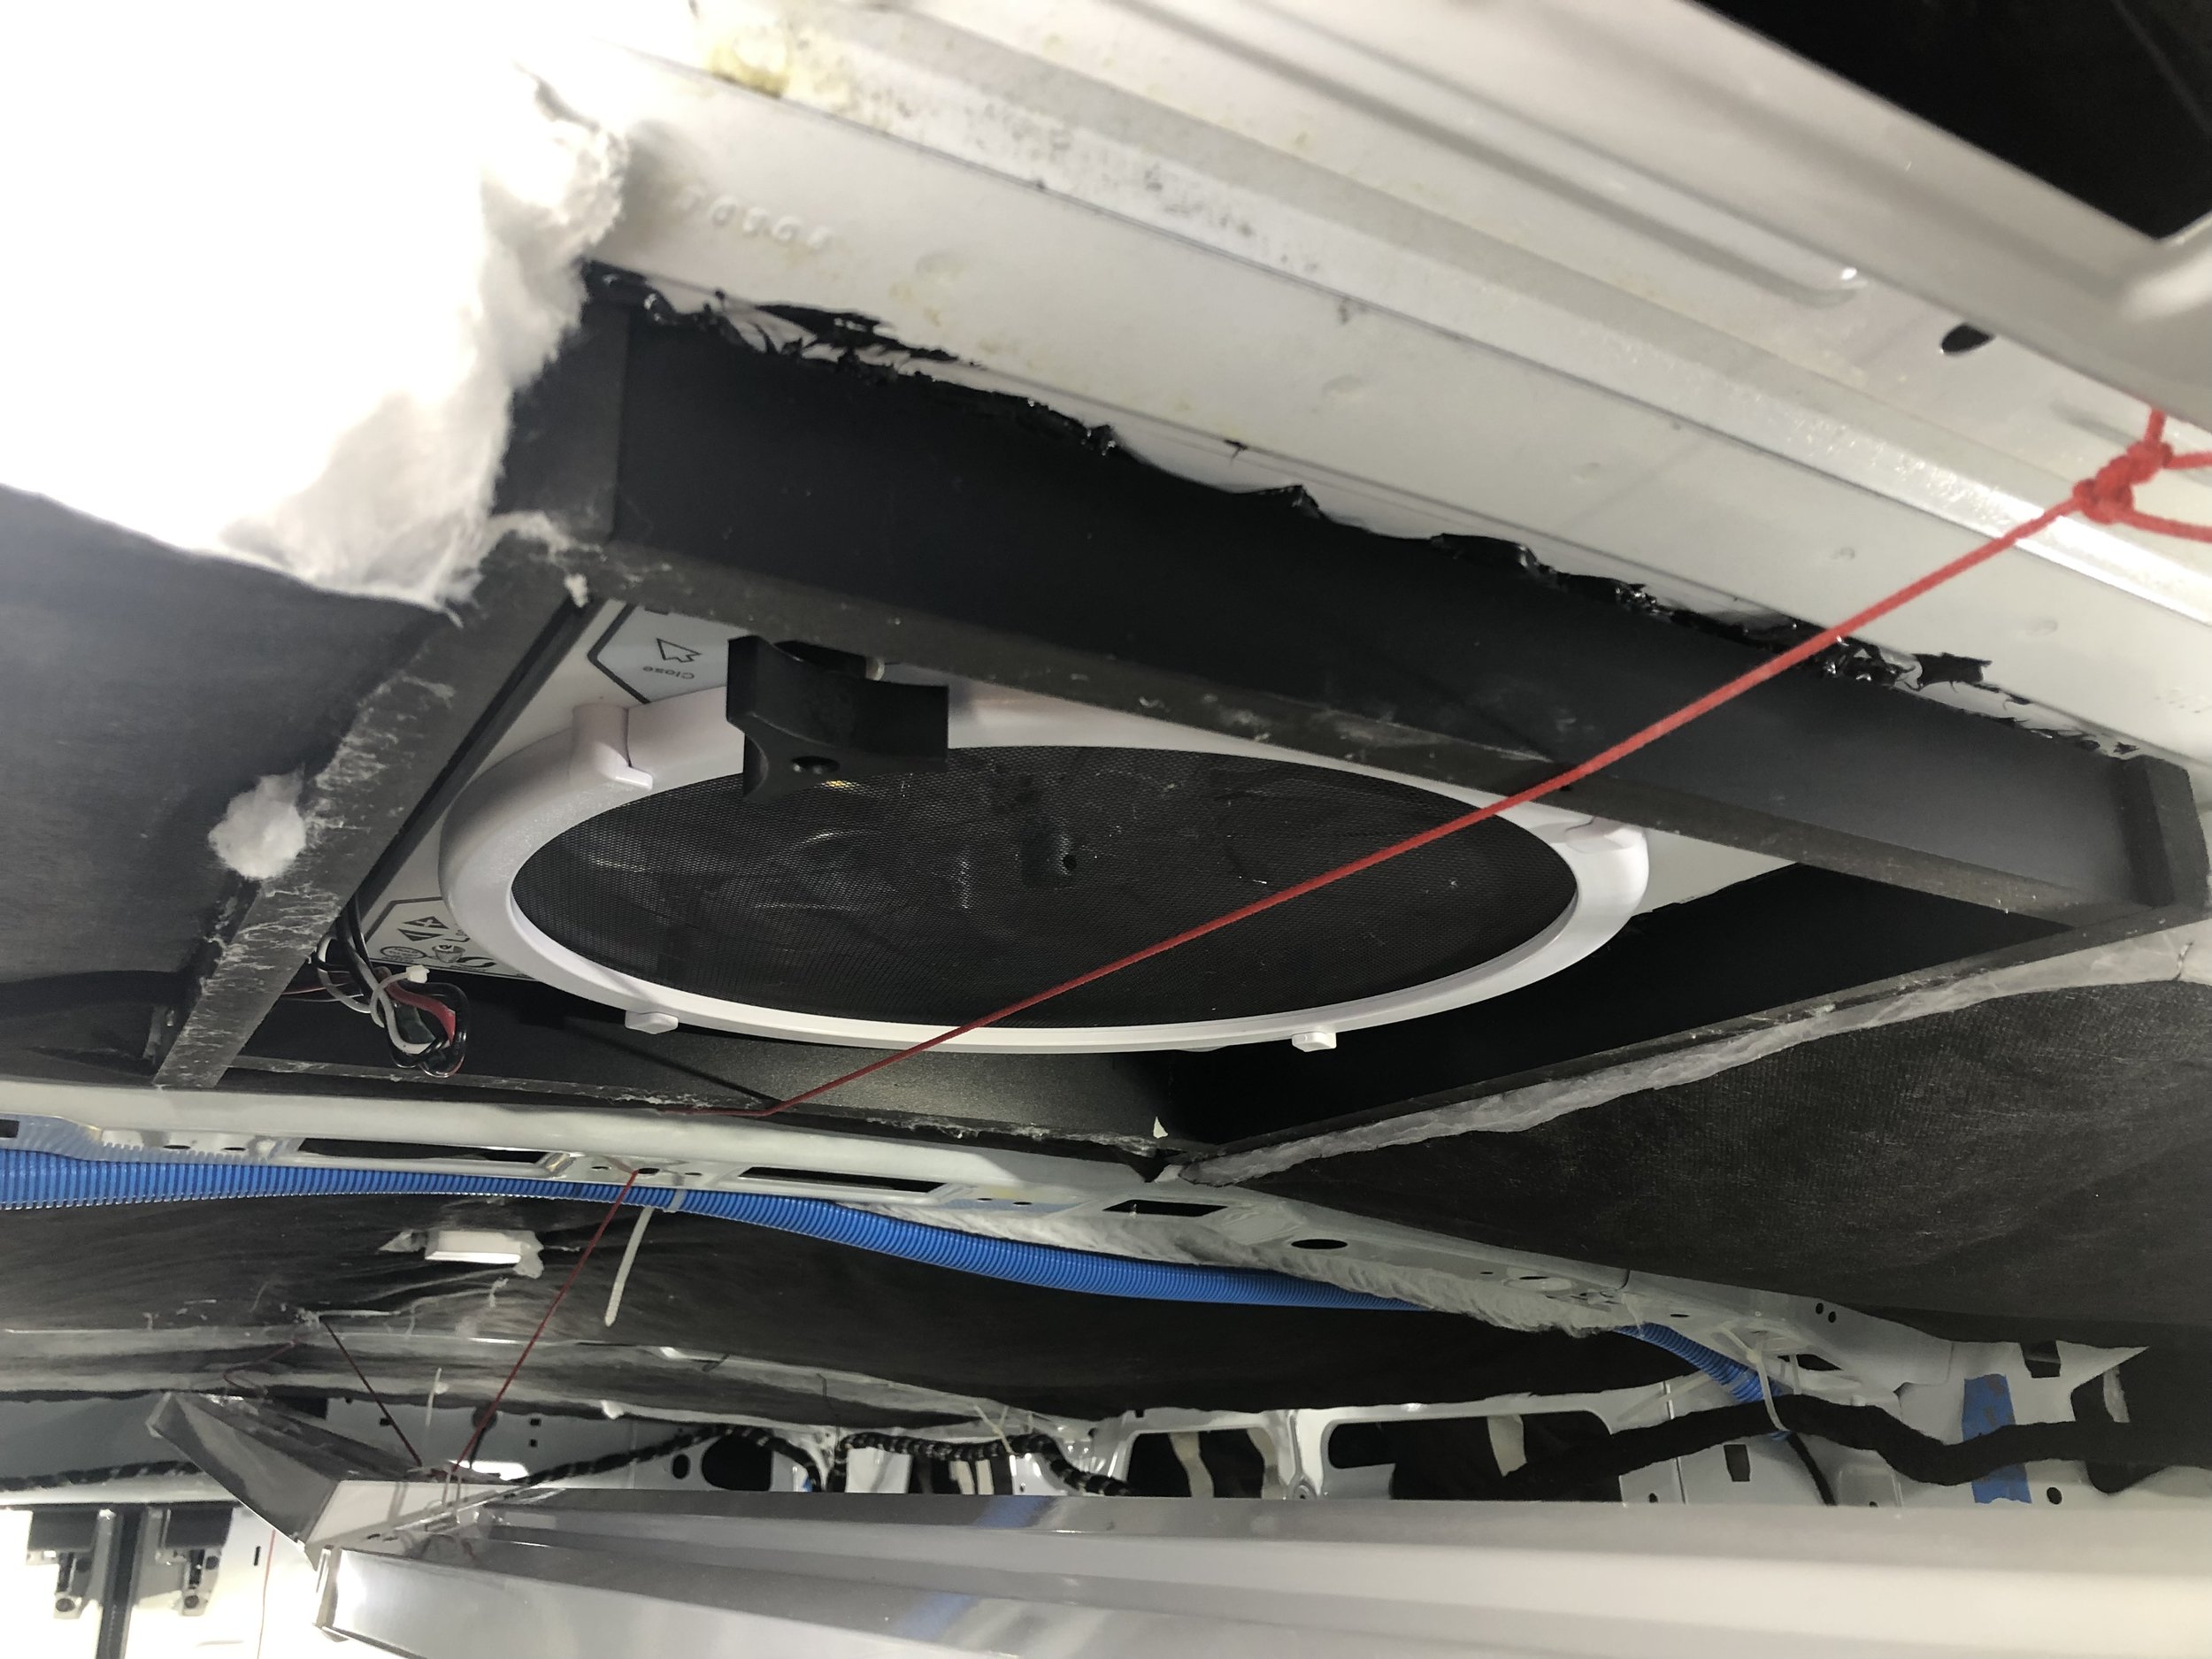
This vent fan is installed as far forward as possible to reduce noise while sleeping and maximize space on the roof for solar panels. The rear windows and floor vents can be opened to provide cross flow.
I used the fan to roof adapter made of PVC from diyvan.com. This gives the fan a smooth surface to mount to instead of the uneven surface of the Ford transit roof, and prevents flattening of the roof which can create puddles. I also created an interior frame on the ceiling around the fan of the same XPS material (also provided by diyvan.com). My plywood ceiling will screw into this. There are many blog articles on the fan installation, including these:
FarOutRide https://faroutride.com/fan-installation/
http://www.homesweetvan.com/build/2017/6/17/how-to-installing-a-fan
Materials
MaxxAir 7000K fan https://www.amazon.com/gp/product/B003ZOF09Y
Roof adapter and interior framing from diyvan.com https://www.ebay.com/itm/Ford-Transit-High-Mid-Roof-Vent-Adapter/132298128172?hash=item1ecd953b2c:m:m_A8uU7_usP1PEAeaKcPv3Q
3M window weld https://www.amazon.com/gp/product/B000FW61EW
Dicor self-leveling lap sealant https://www.amazon.com/Dicor-Self-Leveling-Lap-Sealant-2/dp/B00H554R98/ref=sr_1_fkmr0_3
12 1.5 inch #8 stainless pan head screws. Use the screws instead of the screws that come with the fan so that you can drill deeper into the interior frame.
5 feet of 1 ¼ inch butyl tape (may come with the roof adapter kit)
Tools
Ladder with padding to lean up against the van
JigSaw with 24 or 32 TPI blade
Drill with 3/8 drill bit (starter hole for the JigSaw) and 1/8 drill bit (pilot holes for locating)
Measuring tape, ruler and sharpie for drawing lines
2 cargo braces to glue in the interior frame https://www.harborfreight.com/ratcheting-cargo-bar-96811.html
Blanket and tape to mask off the interior
Blue tape and plastic to mask off the roof
File to smooth out the cut edges
Lots of rubber gloves, rubbing alcohol, and rags for keeping clean
2 feet of 2 x 4 as a temporary brace, along with 2 2.5 inch screws
A flat board at least 14 inches square for applying pressure to the roof adapter
Steps
I will summarize my steps here, particularly where I did something different, but I recommend you refer to one of the more detailed blog articles.
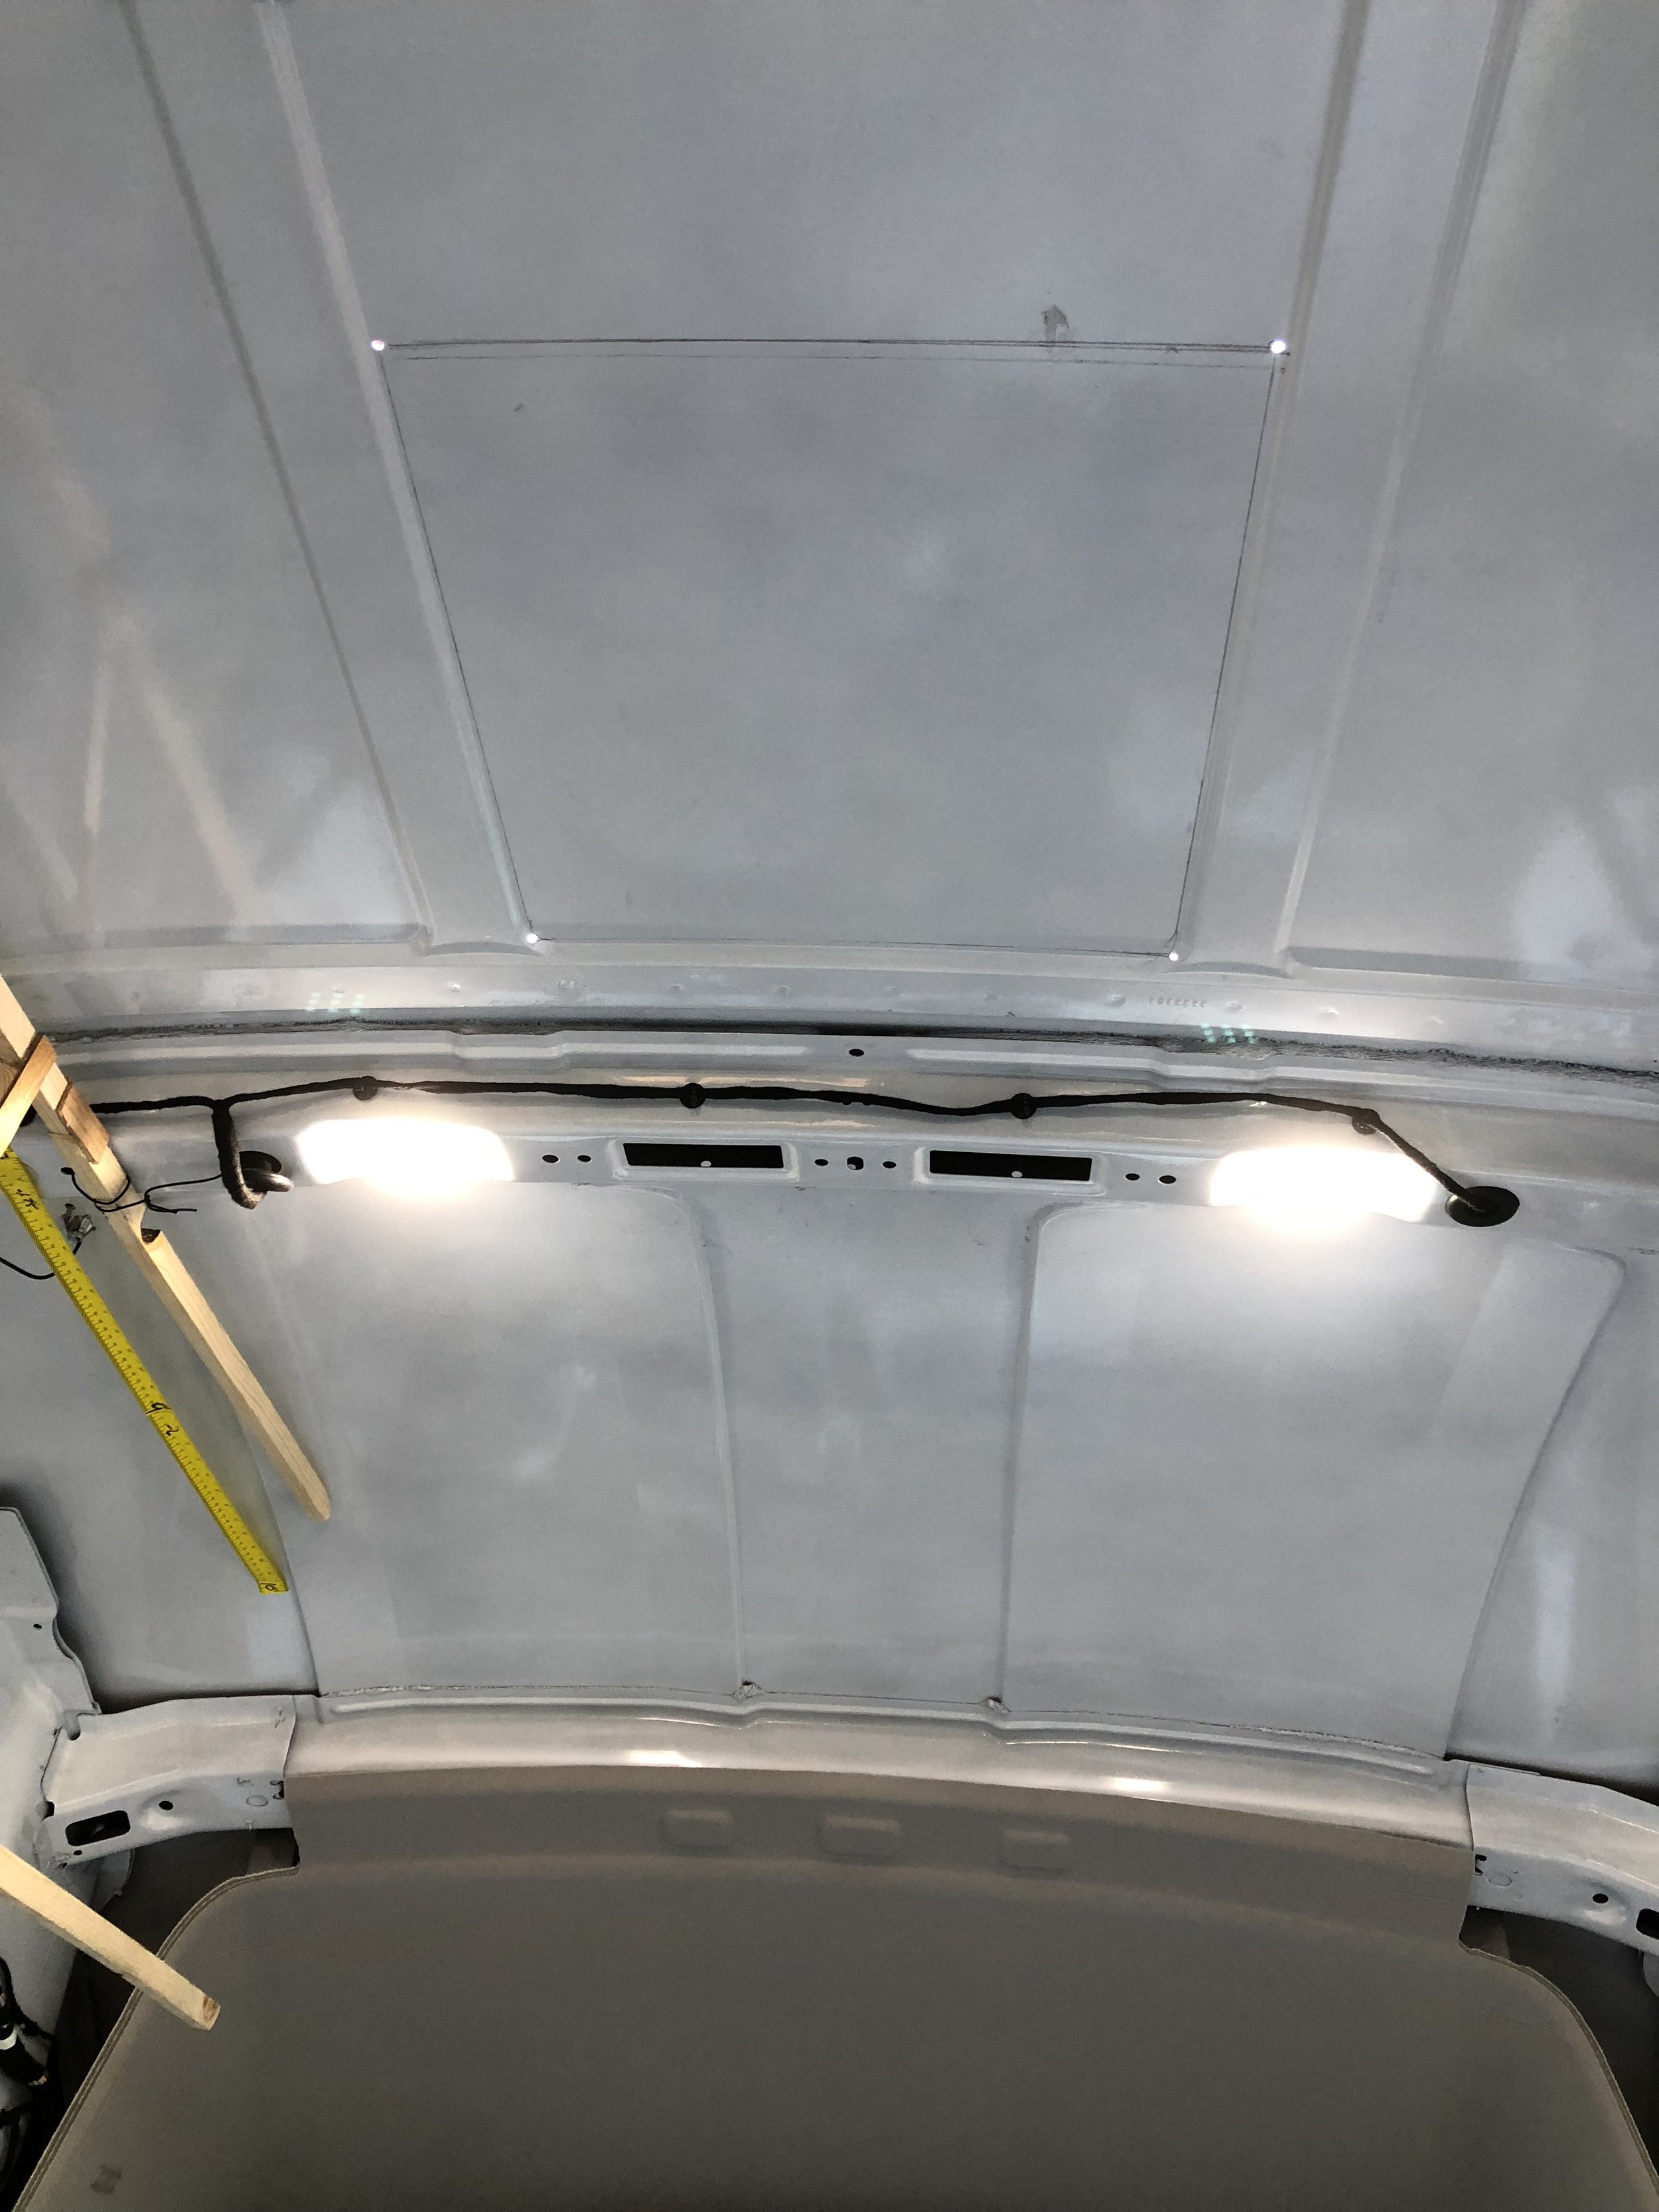
Locate the desired installation location on the roof using the roof adapter and sliding it forward and backward in the roof grooves. I wanted my fan as far forward as possible, so I slid the adapter right up to the seam between the flat portion of the roof and the beginning of the curved portion of the roof. Note: the only really strong part of the roof is directly over the framing area. Don’t lean on unsupported sections of the roof or you will dent it.
Check the interior framing in this location and verify that screws would not be going through any interior framing, and that your interior roof frame will fit
Using the roof adapter as a template, draw the outline of the whole around the interior of the adapter on the roof.
Drill four pilot holes at each corner, and again check the interior location for clearance from framing members.
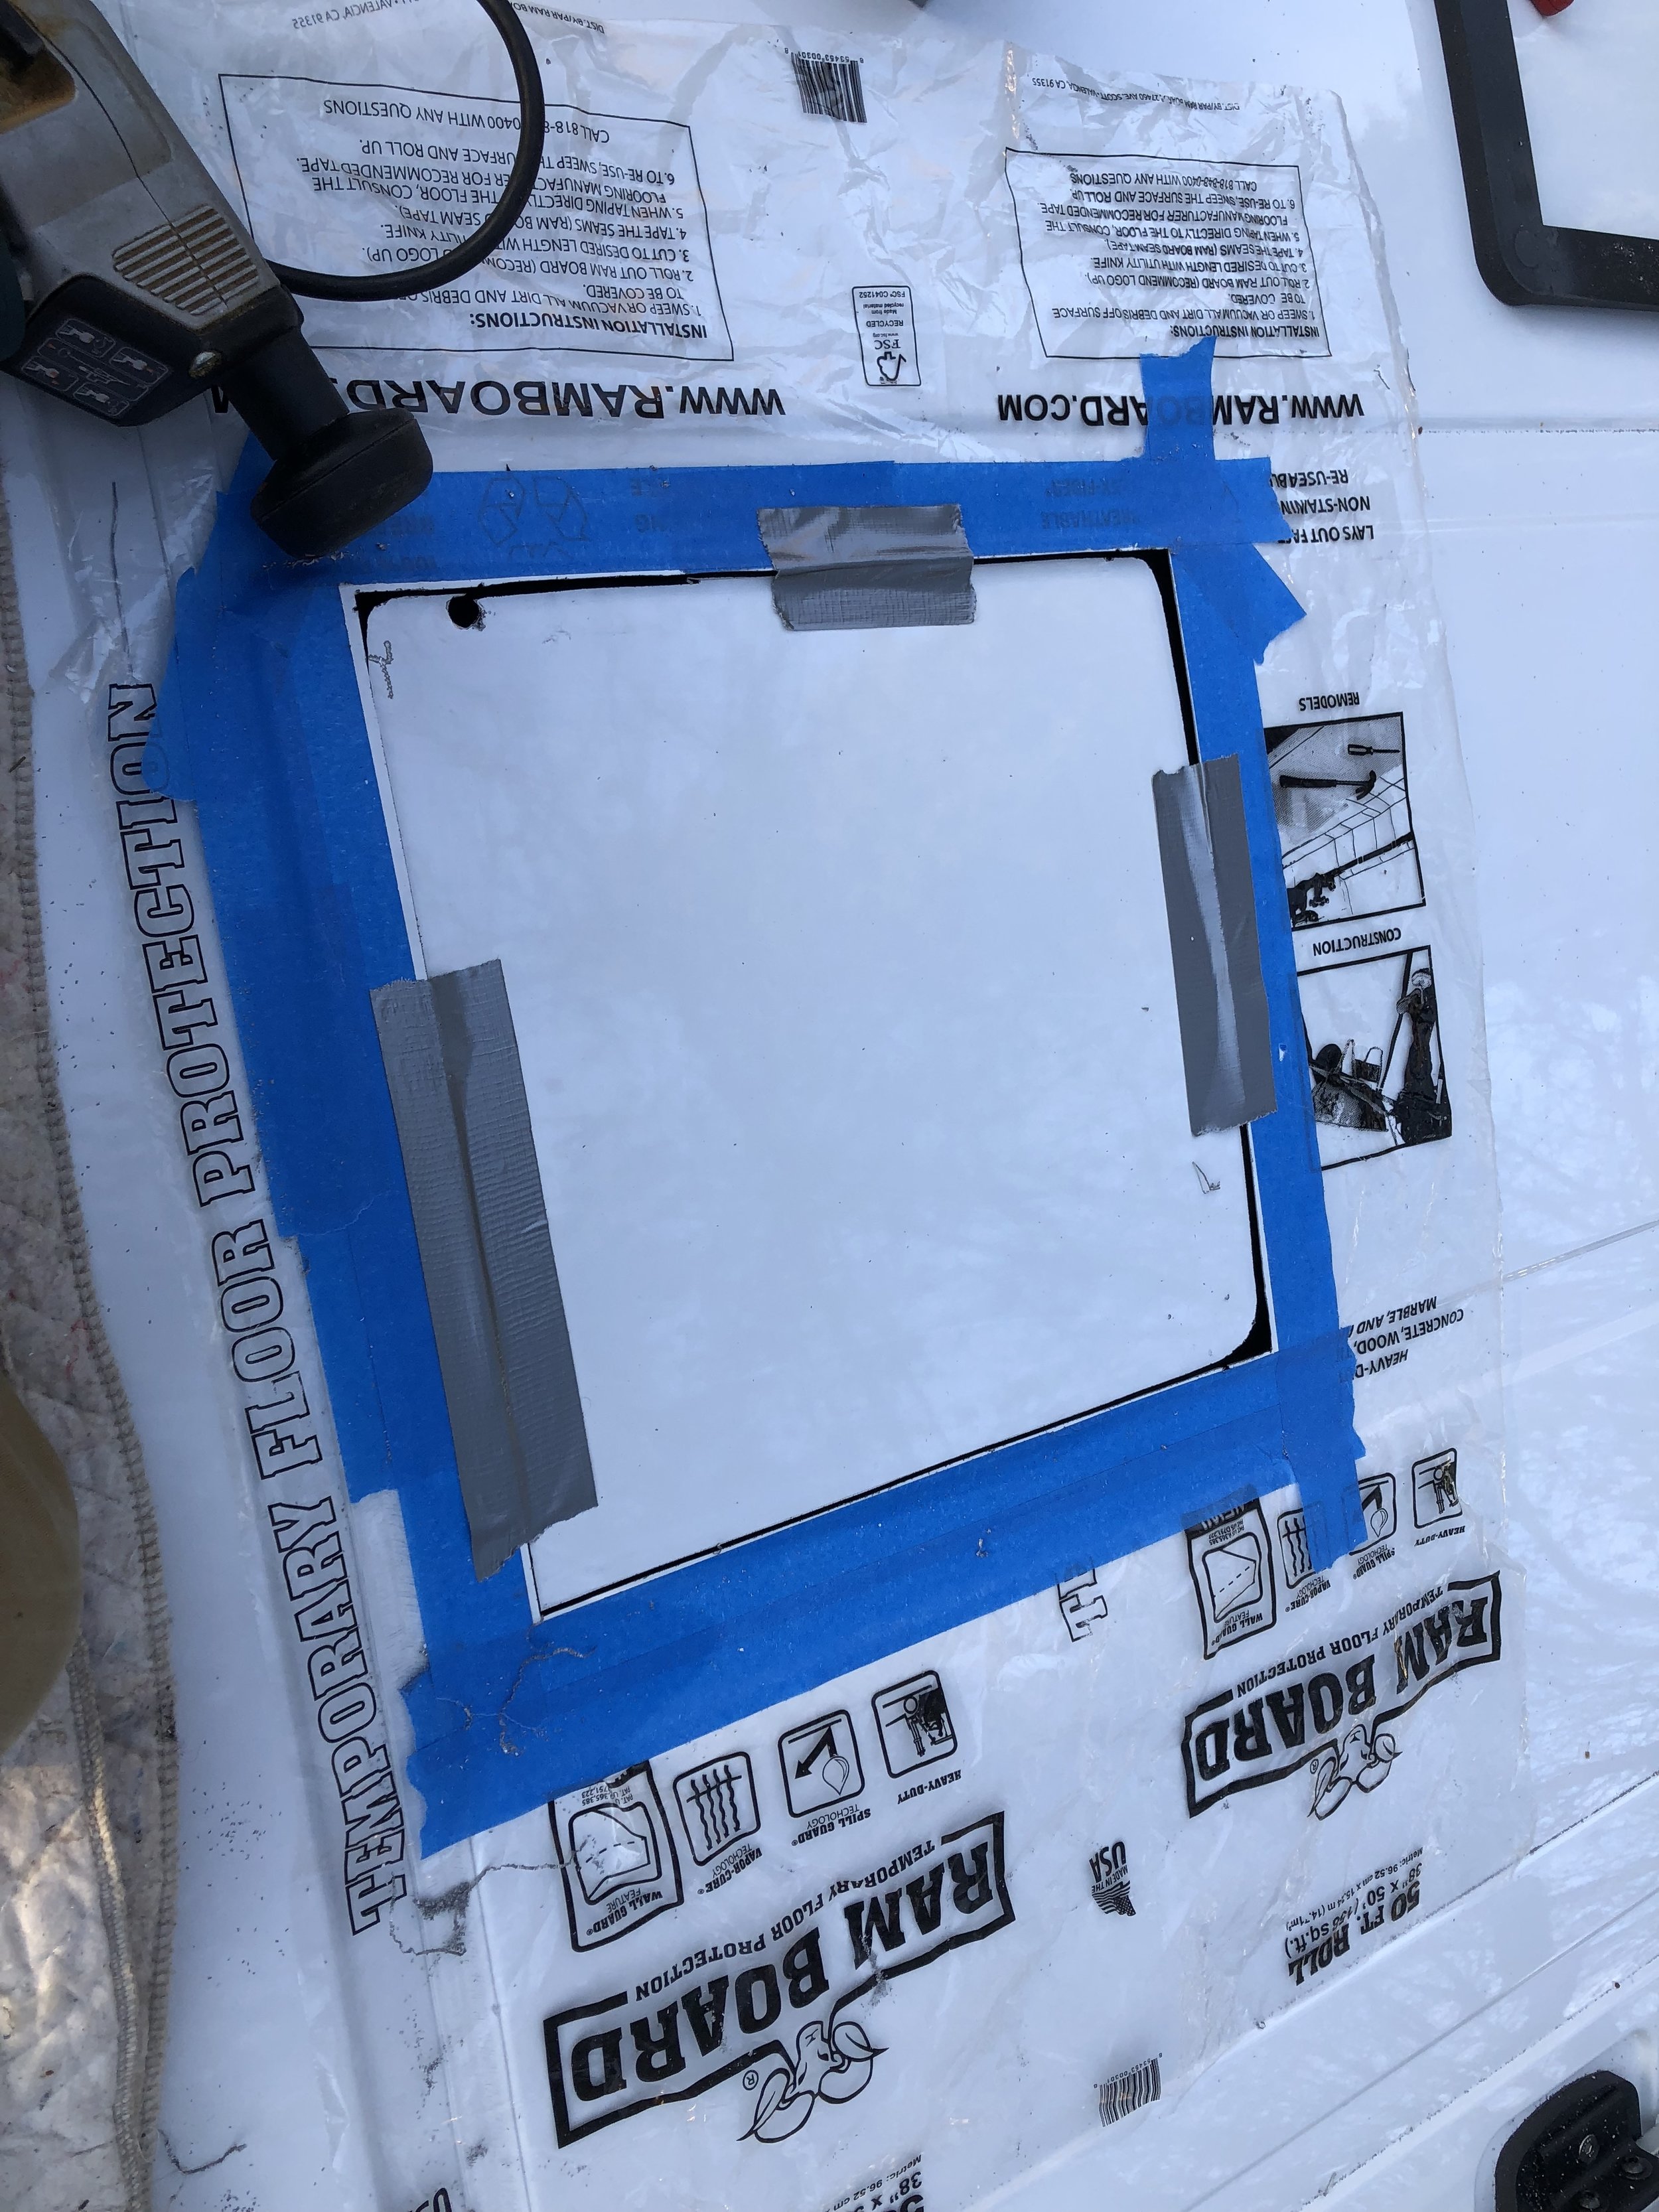
Set the roof adapter aside, and mask off the area of the roof to protect the paint around where you are cutting.
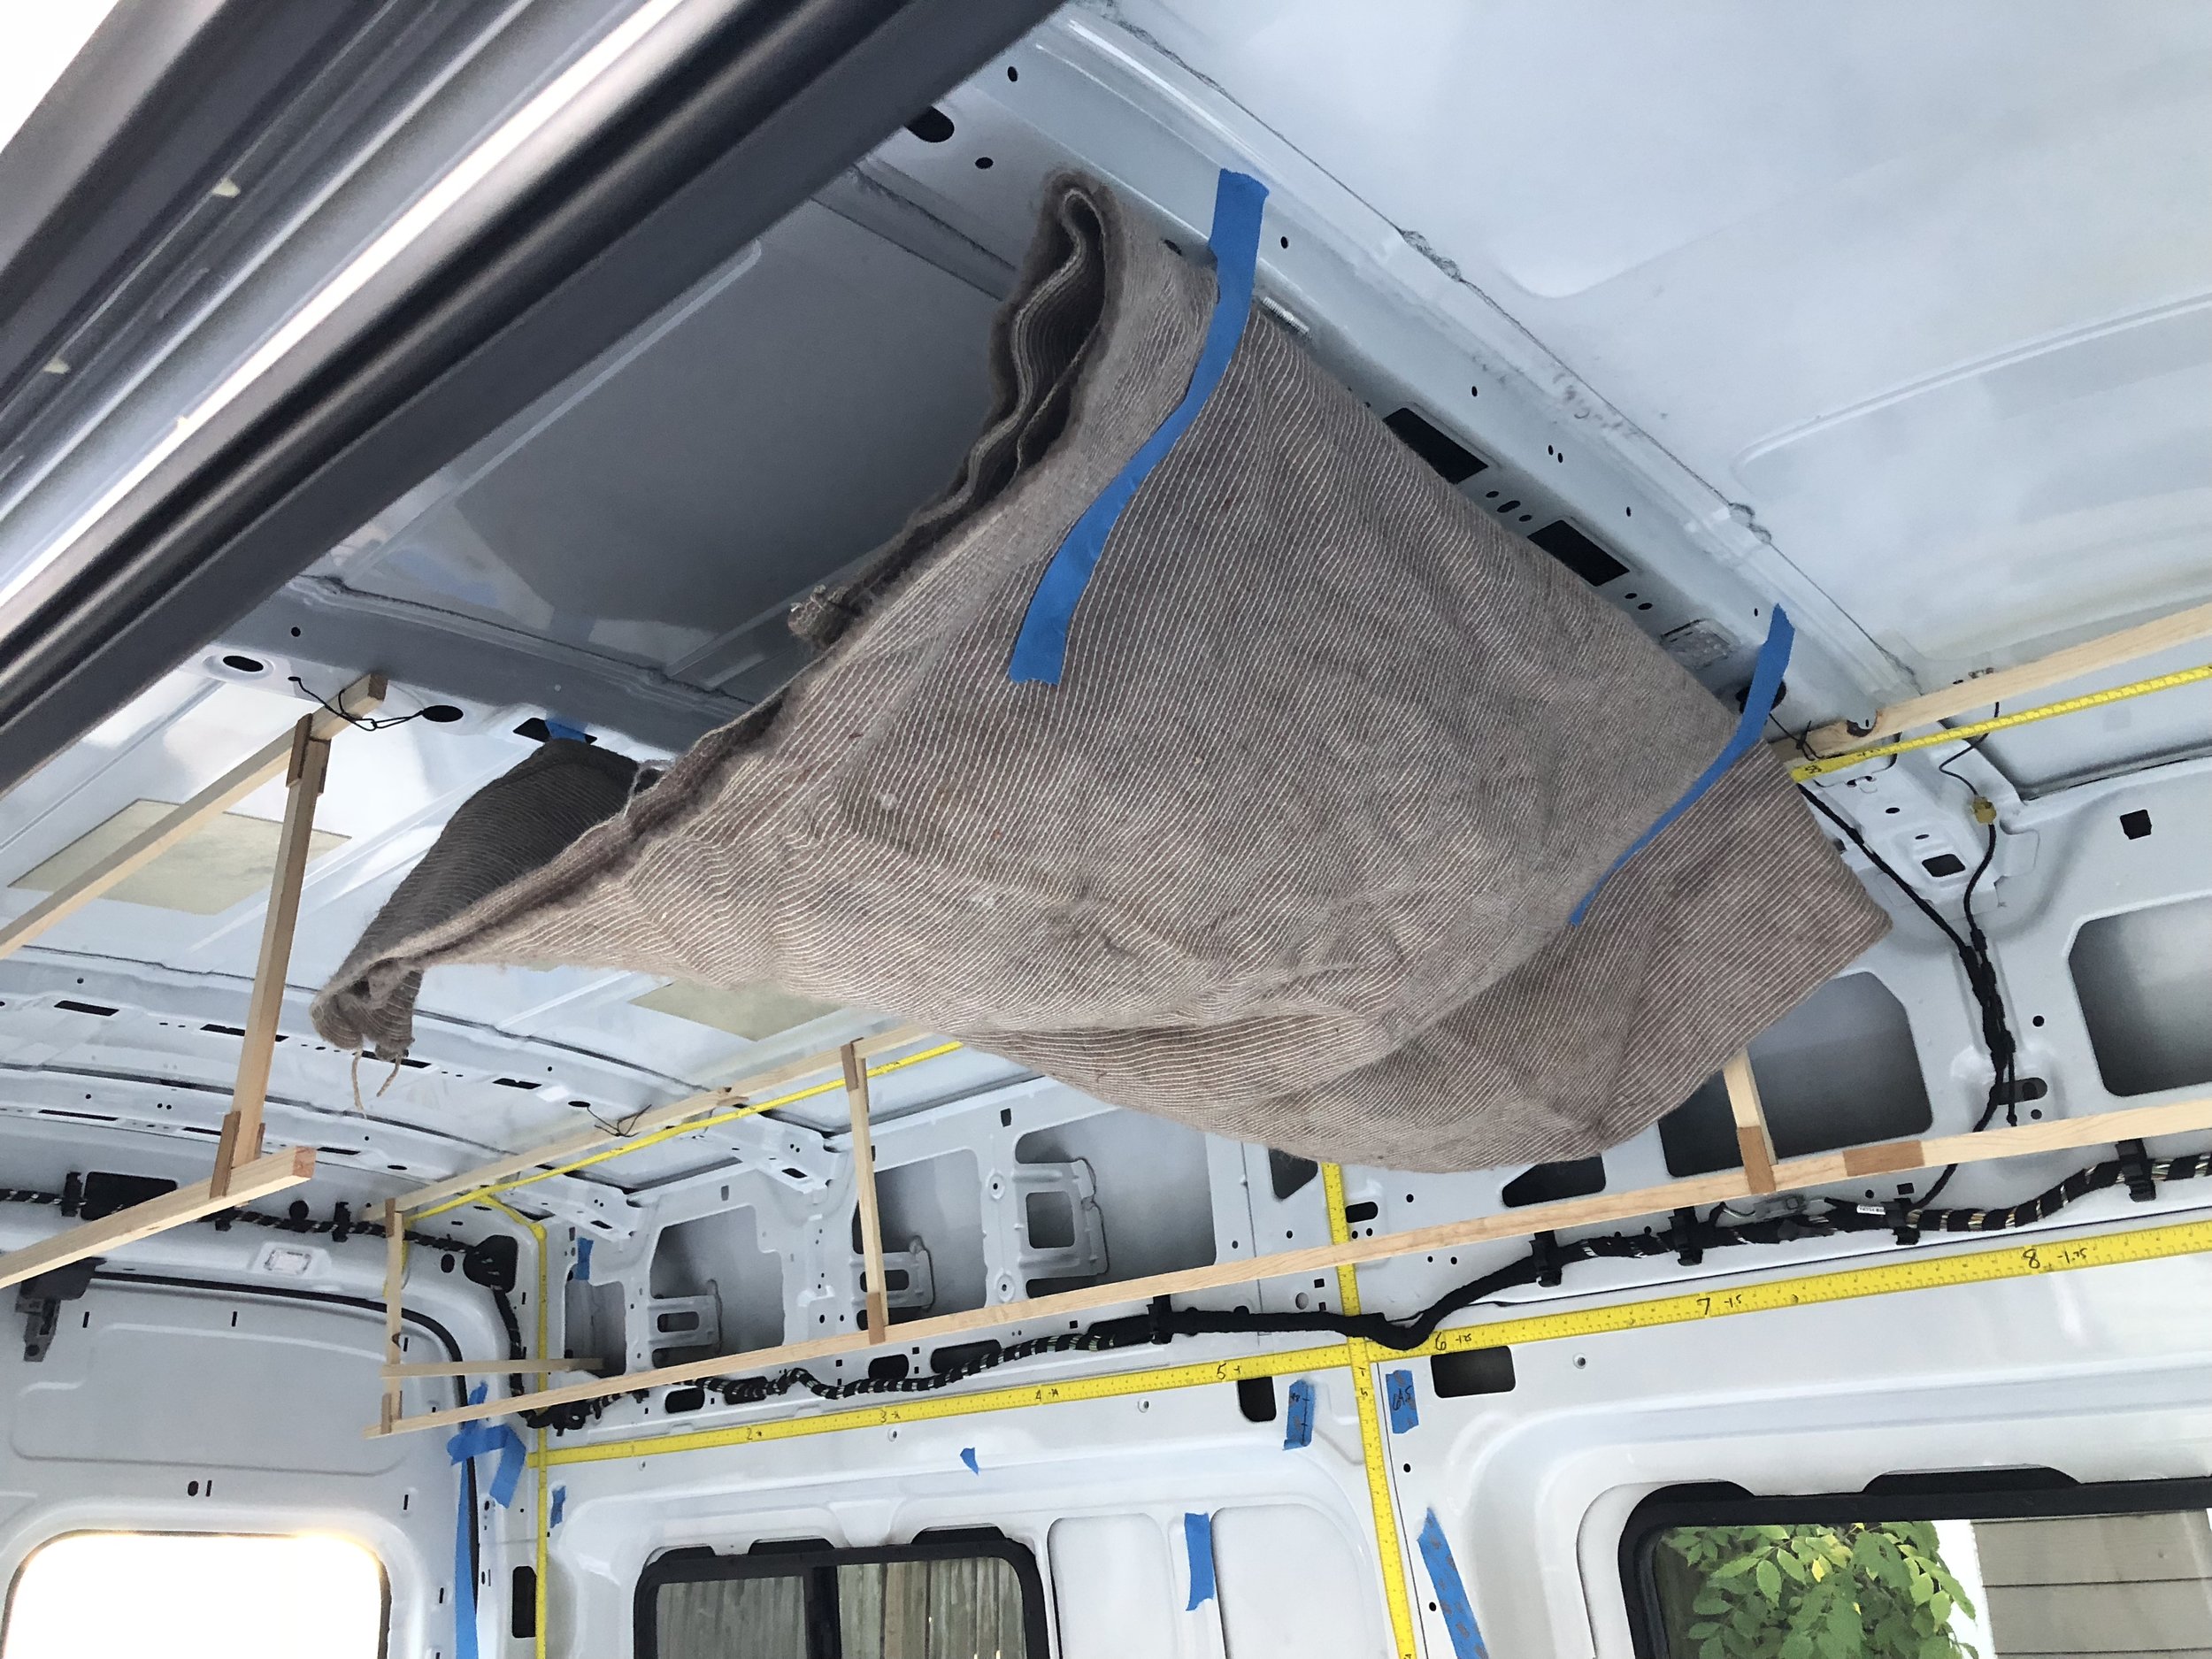
Tape up a blanket underneath the pilot holes to catch the metal fragments inside the van.
Using a jigsaw with a 24 or 32 TPI blade, make your cut. As you complete cutting each side, place a piece of duct tape across the cut to hold that site in place and keep it from vibrating while you cut the remainder of the sides.
Once the cut is complete, remove the panel, and file down any jagged edges along the perimeter of the cut.
Prime and paint the cut surface to prevent rust.
Test fit the roof adapter, placing it onto the opening, and then place the exterior portion of the vented flange on top of it. Verify the fit looks correct.
Assemble the interior box frame – cut two pieces about 16 inches long, and two pieces 14 inches long. Screw the box together with one screw in each joint. I predrilled the joints and used drywall screws as these joints are not really structural once it is all glued and screwed. Attach the 2 feet of 2 x 4 to the front and back sides of the frame with screws. This gives you a platform to push against when gluing this to the ceiling of the van.
Glue the box frame to the ceiling of the van. I used a thick bead of window weld, screwed a board across the box, and held that board up with a couple of the cargo area braces from Harbor Freight. Let this bond overnight.
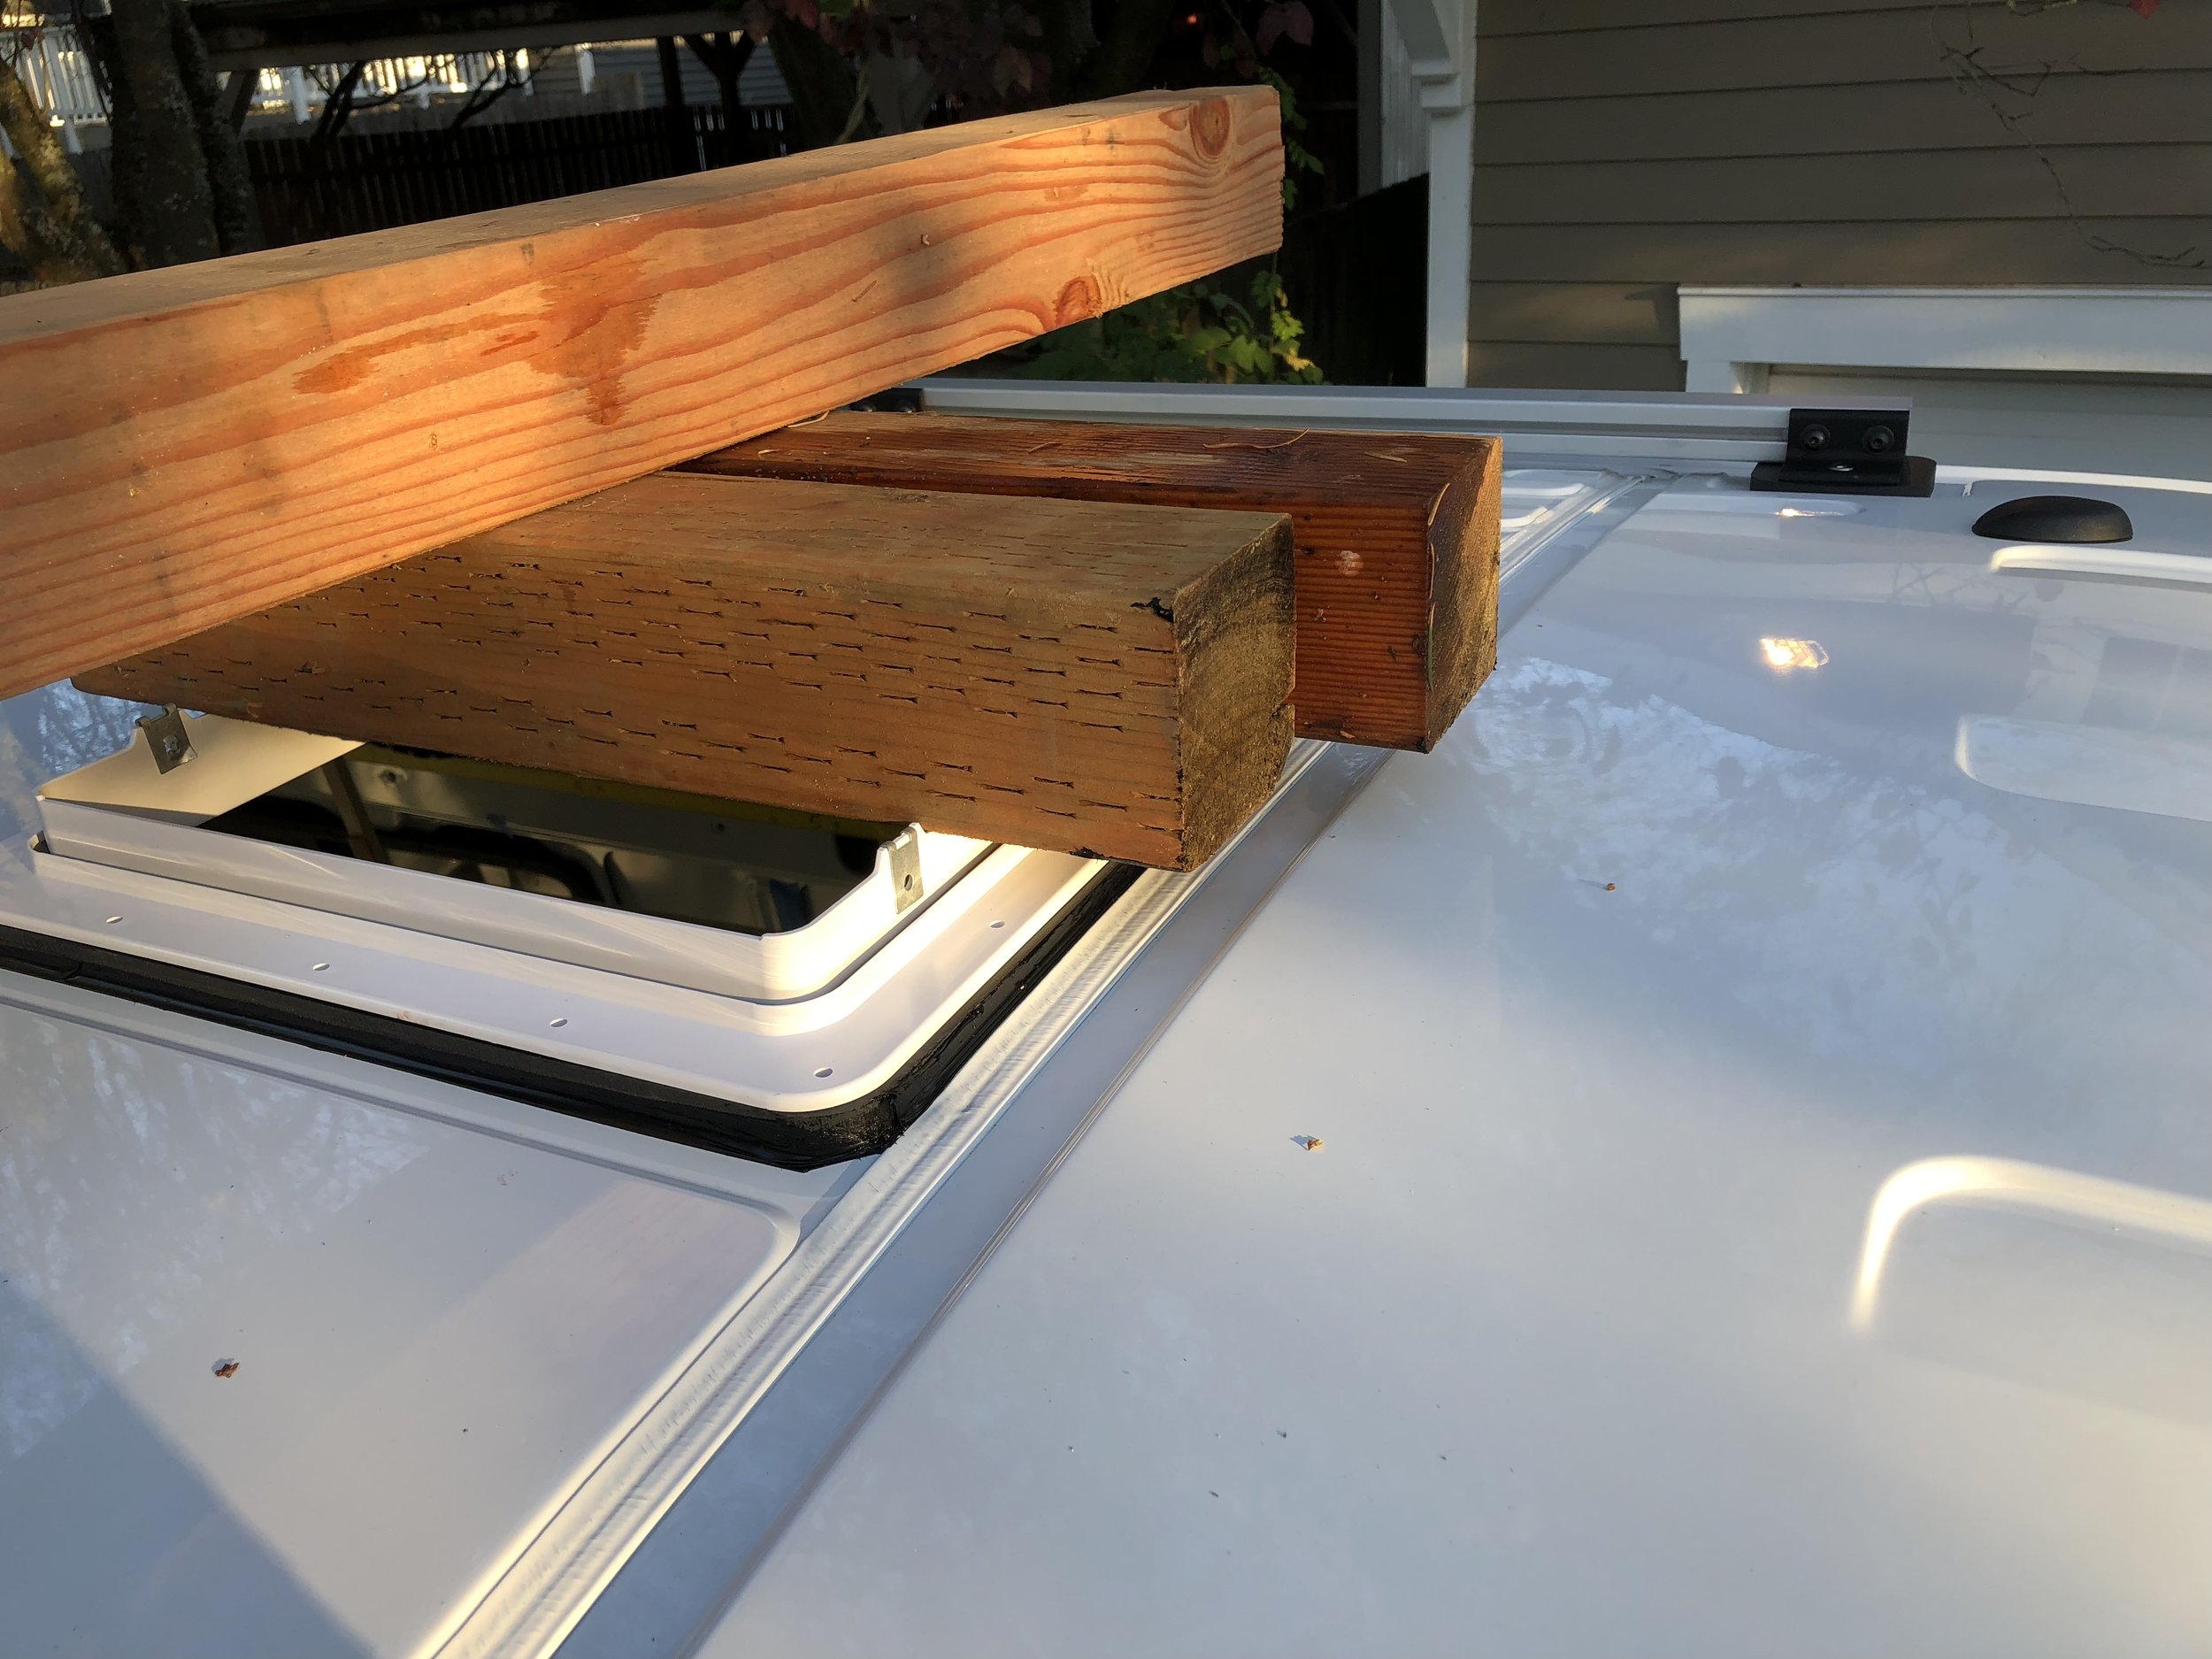
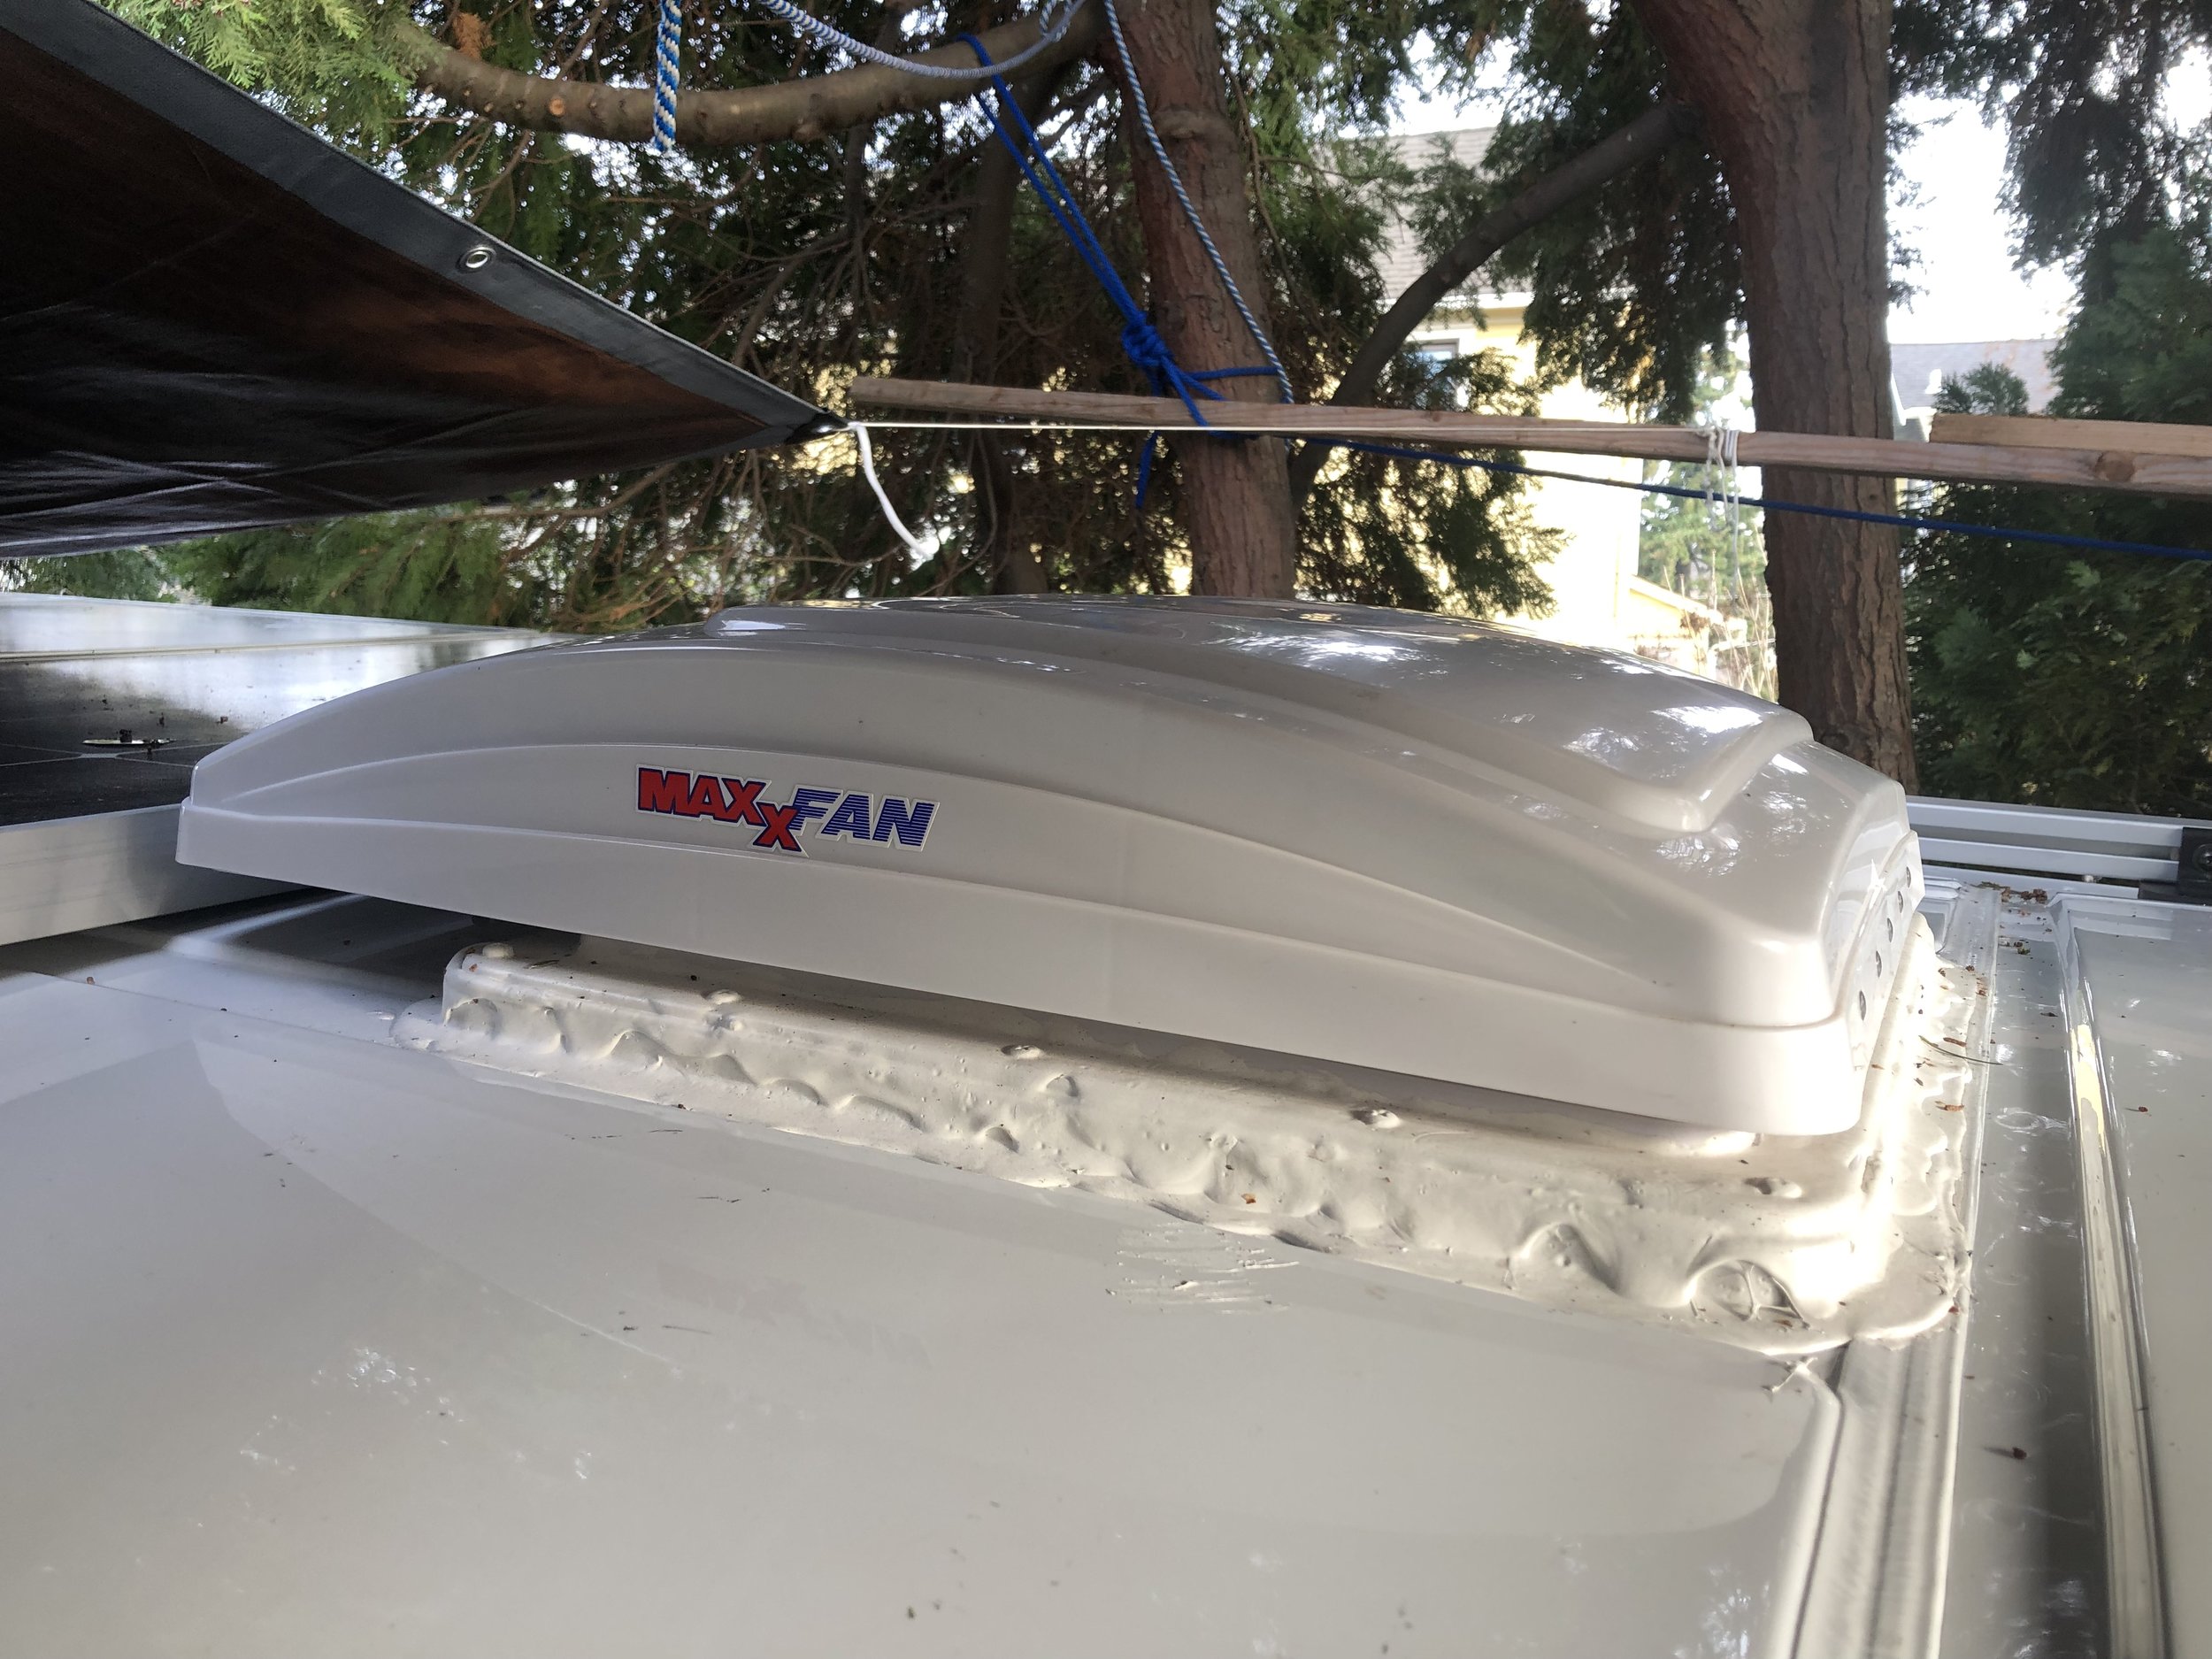
Glue the roof adapter to the roof of the van. To provide a bit of squeeze out on the window weld and good adhesion all around, I placed the Maxx Air fan flange on top of the roof adapter upside down, and then put about 8 pounds of weight on top of it.
Buy 1.5 inch stainless steel pan head number eight wood screws to replace the screws that come with the fan. These screws will go through the vent flange on the roof, roof adapter, roof sheet-metal, and into the interior framing.
From Hein
Hein, from diyvan.com, includes these instructions in his adaptor kit:
We recommend 3m Window-weld adhesive which you can get at Napa. Locate and cut the 14 x 14 hole. You can use the adapter as a guide to mark the hole. Stay clear of roof supports, obviously.
Make a tape line 1/4" beyond the adapter perimeter. De-gloss the area with a Scotchbrite pad. No need to scuff. Just dull the paint. Clean with isopropyl alcohol and let dry thoroughly. Blow dryer if it's wet and/or cold out.
Apply three 1/8" beads of the Window-weld on the face of the adapter. Then press the adapter down onto the roof until the adhesive oozes out the sides. It's not necessary to clamp. If you do, use a lot of lightly set clamps and spread out the clamp force over the whole surface area.
Using the adhesive that oozes out, make a fillet around the adapter with a double gloved finger. Pull the tape within 15 minutes. Cure is fast on outside. Let cure overnight and then proceed with the fan install.
We recommend using butyl tape for the fan install. Cover the fan flange with 1 1/8" wide tape. Place onto of adapter and press down. Then drill pilot holes through the adapter and into the van roof. If the screws are going to go into a roof support beam then drill a clearance hole in the beam. You only want the screw to engage the adapter and outer skin. Use a step drill to keep from plunging through the skin.
You may need longer screws. Tighten them very lightly against the fan flange. Some butyl will ooze out which you can trim off.
Coat the fan flange adapter and onto the roof about 1/2" with brush on bed-liner or Flexseal from the TV guy works well. Some sealants will melt the fan plastic so you might try it on a portion of the interior bezel first. You'll cut a lot of that piece off. Good idea to check the integrity and reapply the sealant every so often. Dicor self leveling sealant also works but looks a little messy.